To set up routing for email branding on Google Workspace, you need to change the routing in the admin panel. Log in to Google Workspace and click on the Admin icon. From the hamburger menu, choose Apps and then Gmail.
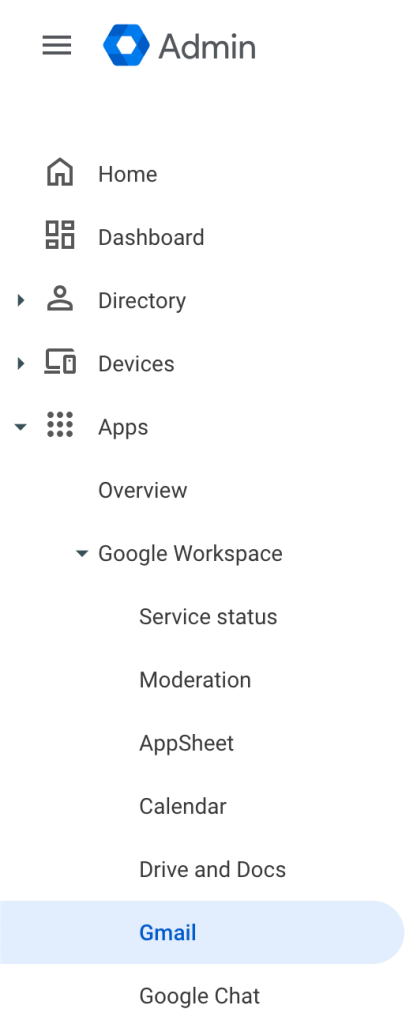
Choose Hosts from the Gmail admin menu.
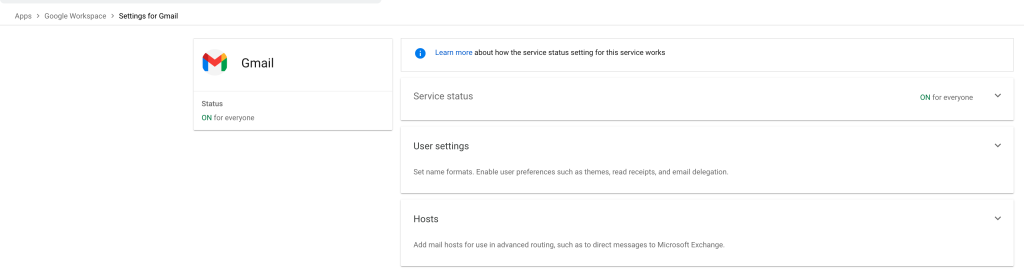
Select Add Route on the menu options.
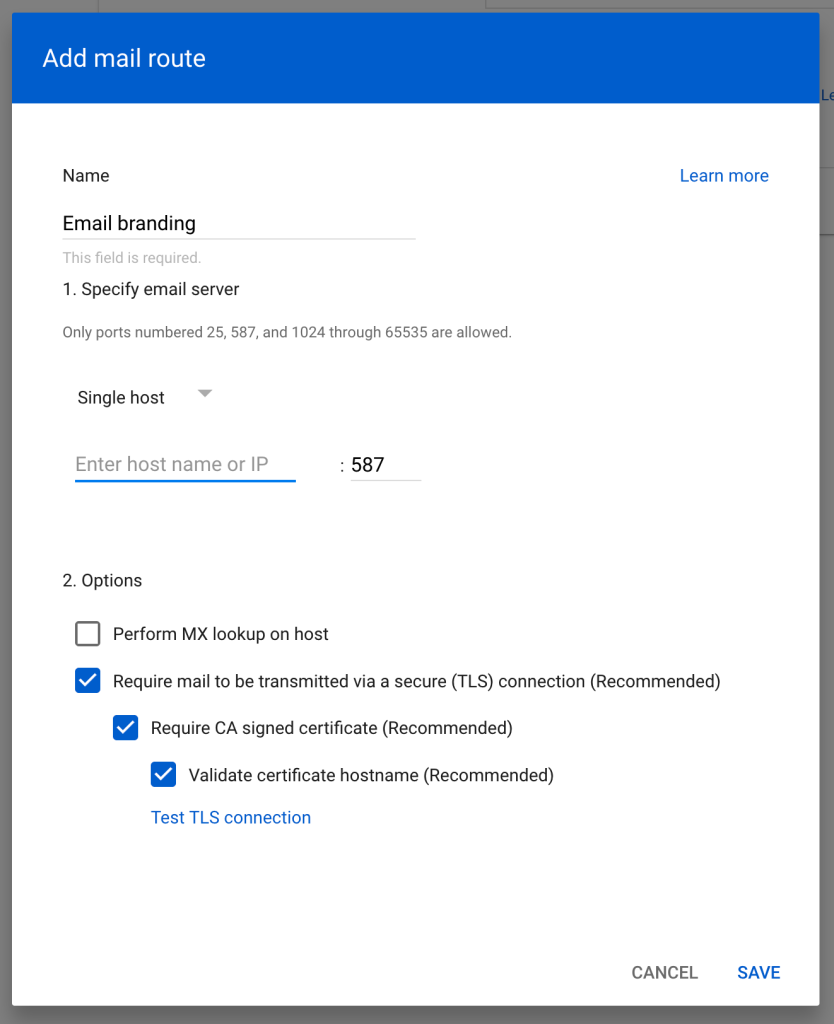
Enter the server name supplied by Databias support staff.
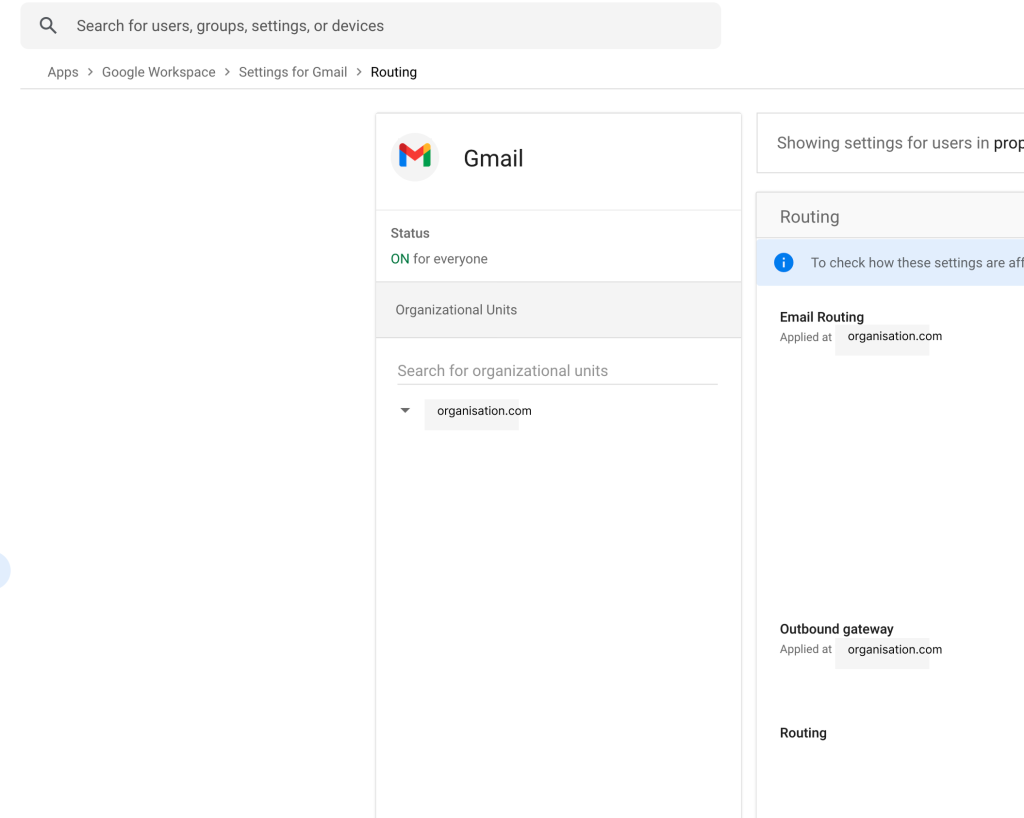
You now need to route the email via the new route you have just added. Navigate back to the Global Admin menu.
Scroll down to the advanced settings and select Routing.

In the page that opens up, choose Configure and add another route
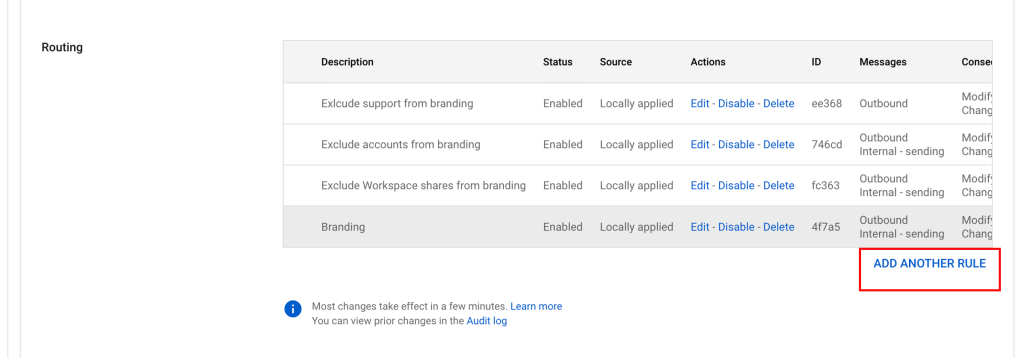
In the pop up box that appears, type in: route mail to branding server. Beneath the routing header, choose the check boxes referring to Outbound and Internal – Sending. Click Add settings.
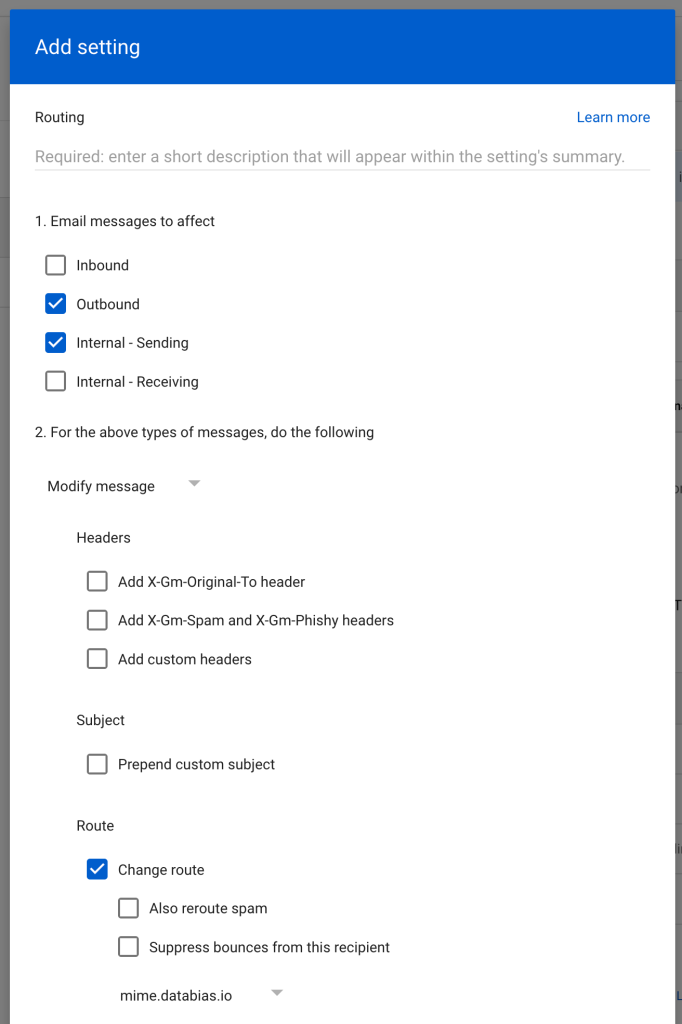
In the following panel, beneath Route, check Change route and choose To Databias for branding. Click Add setting.

You are done. Save and close and send a test to support@databias.co.za with subject line: Testing routing, and we will confirm reciept and route.